The Recomposit/Light Developer program follows the user interface style of general Windows applications. You can find menus, buttons and tables … There are several items of user interface that need to be explained here.
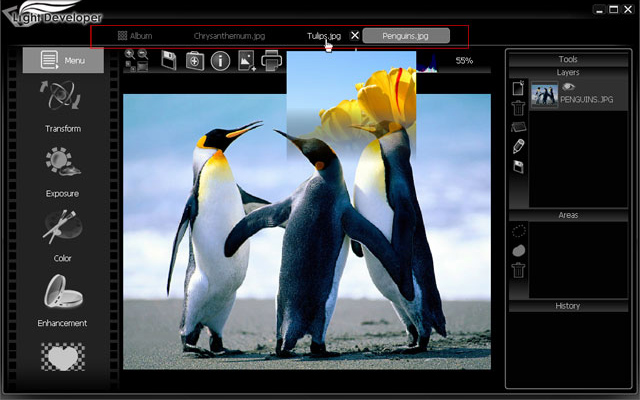
Multiple Documents
The program supports editing multiple photos at same time. In default, the program starts as an 'Album' table. Select one photo and click on 'Edit' (Develop it) will open an editing table for this photo. You can click on the top of the table to switch back to 'Album', and edit another photo or switch between photos and album. Moving the cursor over the title of an inactive table will show the thumbnail of its current editing photo. Click on the 'X' button on the table title to close it.
View an image
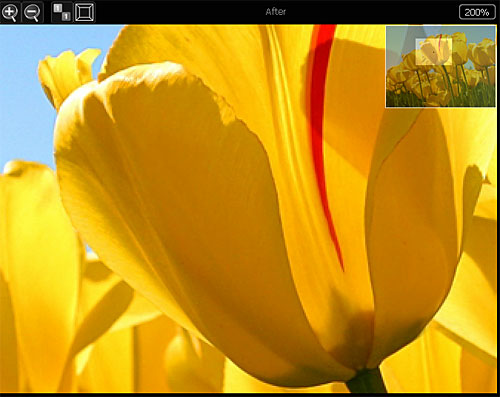
All images except thumbnails in the Light Developer program can be zoomed in/out and navigated by simple mouse operations.
Mouse wheel: zoom in/out.
Drag: move when the window can not show the entire image.
The most common layout for an image is an 'image-view' which provides more functions such as ratio selecting, navigate window and scroll-bars (depends). Like this:
Filter dialogs
The filter dialog is very important for most 'enhancing' or 'adjusting' functions/filters. A typical filter dialog looks like this figure. There are small buttons in the centre to control the preview mode. There are 3 buttons need to be explained more: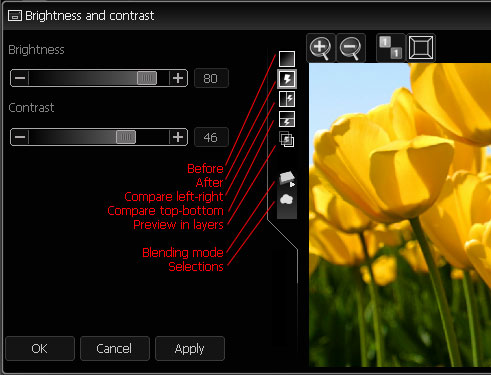
Blending mode: Any filter can control how the result of processing blends on the original image, by treating the result as a layer over the original. The default blending parameters is 'normal' with 100% opacity. You can choose from the list of 'Normal', 'Darken', 'Lighten', 'Multiply', 'Screen', 'Overlay', 'Hard light', 'Soft light' and 'Difference'.
Selections: If you select an area before entering the filter, the processing result of the filter will affect only the selected area. Click on this button, you can choose the area from current selection to all image range, or pre-defined masks. See Workflows for more details.
Apply: Apply current result to original and start a new adjustment with same filter.
Notice, if selection is used or button 'Apply' is clicked, the step of using this filter is no longer an automation step and cannot be applied on other images. See 'Batch processing’'.
